From this:

To this:

I was not a fan of the coolness of the grey brick and since my husband was bordering on having a stroke at the mention of removing the brick or painting it, I had to figure something out. So, I took to the internet and came upon this product:
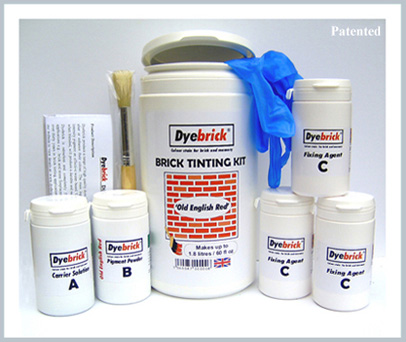
A brick tinting kit made by a company called Dyebrick. Yay! After I looked at their gallery of projects and read their testimonials, I knew I had found my answer. I was able to sell it to my husband because it simply stains the brick, it doesn't change the texture of the surface like paint can sometimes.
*Since I am going to rave about this product, I feel the need to say that I am not affiliated with them and I'm sure they have no idea that I exist. Well, I did send them a before and after shot over a year ago, but I am pretty certain they have long forgotten me.
They have a variety of colors to pick from:
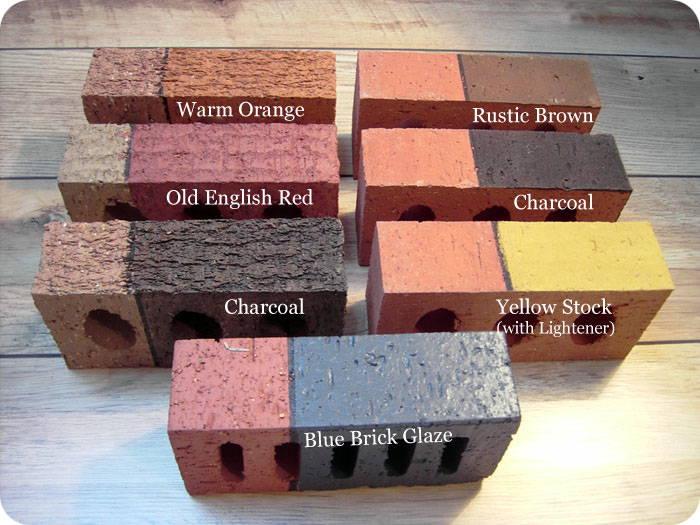
For my project, I used the Rustic Brown and Old English Red. I made two different "strengths" of the Old English Red, which gave me a total of three colors to work with overall. The company is located in the UK, but does ship to the US. I was about to order from their website when I decided to do a quick ebay search. For once in my life, I got lucky and there was someone selling multiple kits!! And better yet, at a FRACTION of the cost! Woot! I couldn't believe my luck! I bought three kits total and this project cost about $110 total. Pretty cheap considering the impact it had on the room, I think!
From the company's website, some features of dyebrick brick tinting kit are that its:
- Non-toxic
- Non-harmful
- Odourless
- Zero VOCs (Volatile Organic Compounds)
- Absorbs into and becomes part of the masonry
- Allows the masonry to breathe
- Can be applied to
- Brickwork
- Concrete
- Stone
- Mortar
- Render
- Blocks
- Concrete Roof Tiles
- ...and more!
I wish I had taken pictures of the during process, but unfortunately I didn't. :( There's really not much to it though. No prep of the brick, no taping off, nothing. You just mix your product and start! It has the consistency of water and really didn't run all over and create too huge a mess of my grout. I used my faithful old Purdy brush to apply it, but if I was doing it again, I would at least try it with a foam brush to see what the result was. Dyebrick's website has great instructions on how to prepare the product for its use and even some videos on its application.
.So, while I say it really didn't mess my grout up too badly, it did get on it some (or a lot in some places), but this wasn't a big deal. I just used a flat head screwdriver to "scratch" it off my grout when I was all done. What? A little tool abuse is acceptable sometimes. I was multi purposing it! Looking at my grout now, you would never know I ever had to do that. Well, maybe if you were inches away, inspecting it. If that were the case though, I'm pretty sure we would have to have a talk about somethin'...
Here is a picture of where I got some stain on my grout:
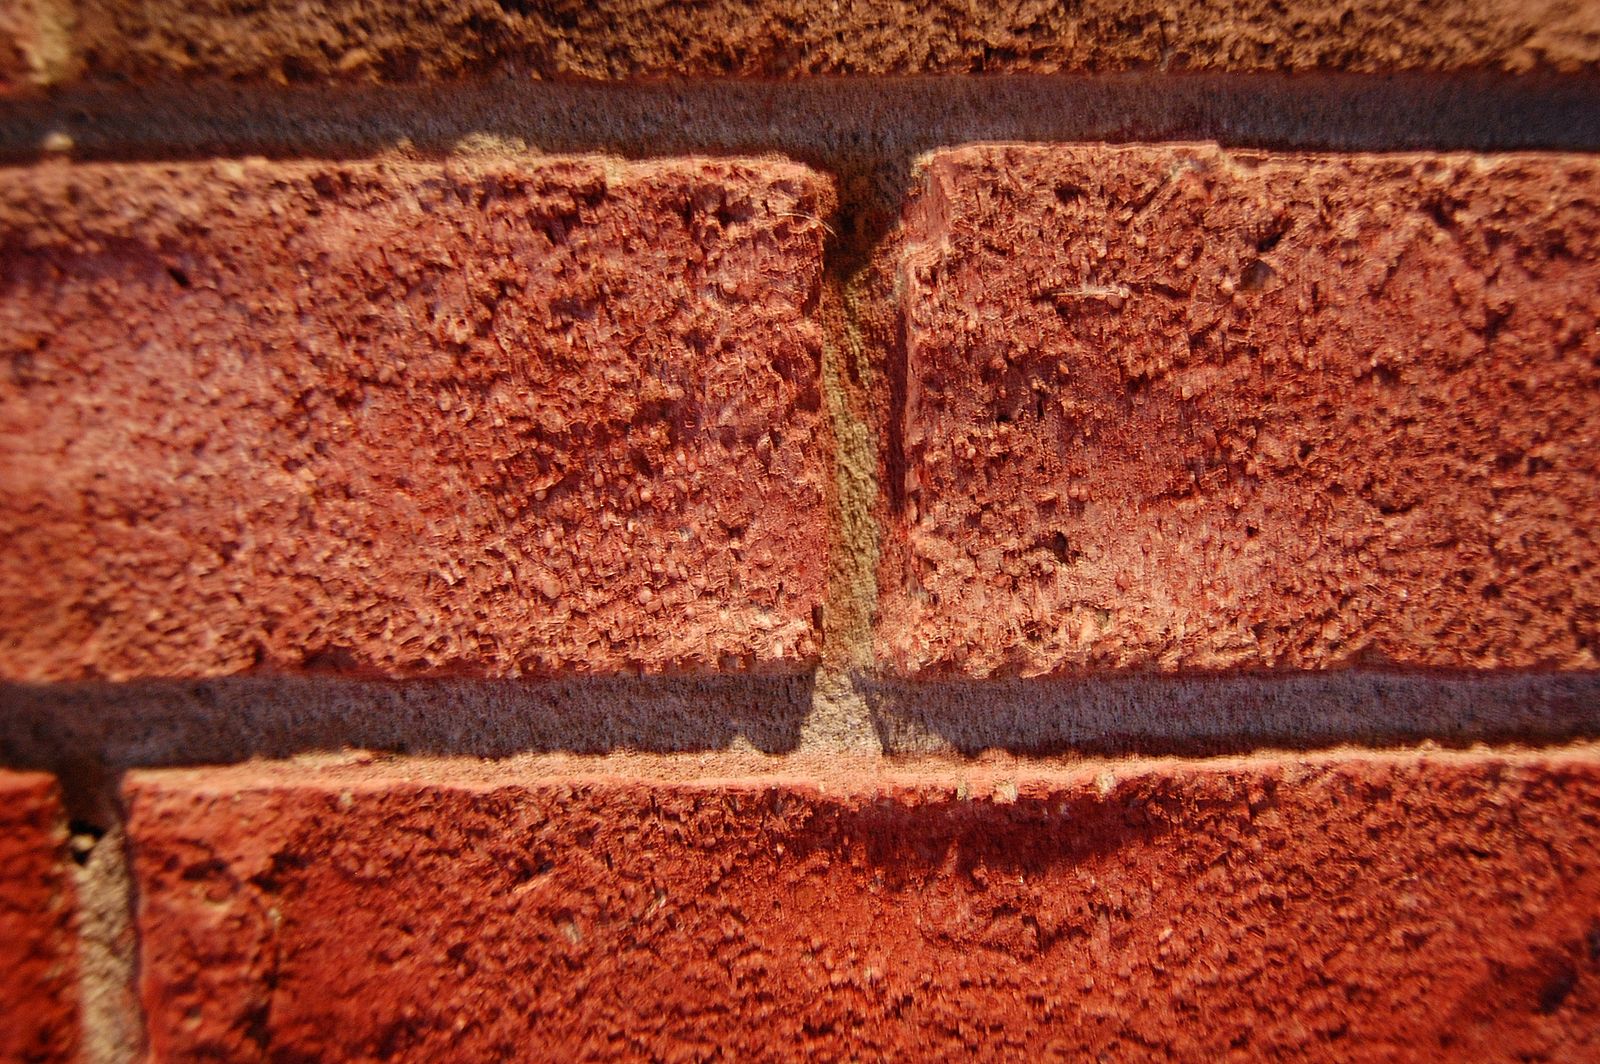
And what it looks like after a little screwdriver treatment:

Easy peasy!
(Actually for the above picture I used my 4 y.o.'s safety scissors, but you get the idea!)
And here are some additional shots of the finished product:


It took me a few days to complete this, but I had a one year old and a three year old at the time, so I had to work when they were sleeping or otherwise occupied. Any other time I tried to work on it, I looked down and had a little munchkin climbing up my ladder to "help" me. It was very rewarding to do though and I loved how instant the transformation was. Cleanup was a breeze. I have no doubt anyone with a little patience and a paint brush would be very successful with this project!
I also wanted to share with you that this is the time of year that Target starts clearances a bunch of home items. My Target (and I think its pretty consistent throughout the US) does their markdowns on home items on Thursdays. Right now, they have a bunch of things at 30% and 50% off and some at 75%. More things will be at 75% in the coming weeks, so start stalking your local Target store, unless you live near me of course, then STAY AWAY! ;) Just kidding, mostly.
I bought these three cute dish rags for $1.24 this past week. Who says you can't have something cute to wash your dirty dishes? I love these because my kitchen has this almost exact color palette!

Cute, huh? The other things I noticed at 75% right now were some sheets and a few really cute decorative pillows that were not the right colors for me. Its definitely worth checking out!
Happy shopping! Let me know if you find anything good!
I am linking up with:
Debbiedoo's Newbie Party: